
A New Class on Polishing and Bluing in Watchmaking Designed for Watch Enthusiasts
Editorial
A New Class on Polishing and Bluing in Watchmaking Designed for Watch Enthusiasts
I previously took Horology 101 through 104 from the Horological Society of New York (HSNY)’s traveling education program, alongside fellow watch enthusiasts in the San Francisco Bay Area. The experience was unforgettable, from disassembling an ETA 6497 movement to carefully putting it back together and learning about the Swiss lever escapement. So when I heard about a brand-new class focused on polishing and bluing, designed specifically for enthusiasts and co-taught by the same instructor from my previous HSNY classes, I signed up immediately.
For me, exquisite finishing is what elevates watchmaking into a true art form. I’ve read extensively about different finishing techniques, and my French vocabulary has doubled thanks to terms like Côtes de Genève, Perlage, Anglage, and Guilloché. I also love taking macro shots of polished gears and chamfered interior angles to share on Instagram.
Still, many questions lingered. How is a wooden peg used to polish metal, given how soft wood is? How do watch hands and screws turn those vivid shades of blue and purple through heat? And aside from aesthetic appeal, what other purposes does meticulous finishing serve?
After four hours in the class “Introduction to Polishing and Bluing in Watchmaking” — complete with food and drinks — I had my answers. Even better, we got hands-on experience with straight graining, countersink cutting and polishing, as well as creating, polishing and bluing round screw heads. It was both fun and enlightening. I came away with a deeper understanding and appreciation for the artisanal techniques behind our favorite timepieces.
In short, I can’t recommend this new class strongly enough. I’m excited to share my experience with you.

One of the three classes taking place in the San Francisco Bay Area.

In another class, students polished their workpieces with enthusiasm and care.
Our Brilliant Instructors
Our watch finishing class, held on a beautiful April day at a gorgeous mansion in Northern California, was led by Mr. Henrik Korpela and Ms. Briana Le — both accomplished watchmakers and professional instructors. Henrik began studying watchmaking at the age of 16 and went on to work as both a watchmaker and teacher before founding the K&H Watchmaking Competence Center in Le Locle, Switzerland, in 2009. His school focuses on traditional Swiss watchmaking and has trained many students who have gone on to successful careers in the field.
Briana, well known among watch collectors in the San Francisco Bay Area, received her formal two-year watchmaking training at a WOSTEP Partnership School. She has apprenticed under the renowned horologist David Walter and currently serves as both a trustee and instructor for HSNY. I first met her when she was a co-instructor during my Horology 101–104 classes a few years ago.
Henrik and Briana have long taught a polishing course for professional watchmakers, typically spanning two to five days. Praveen, a passionate collector and aspiring watchmaker, had been encouraging Briana for years to adapt the class for enthusiasts.
That persistence paid off. Henrik and Briana set out to design a version of the class specifically for non-watchmakers. The result was a four-hour session that blended lecture and hands-on practice, allowing students to bring home a completed workpiece as a memento. No expense was spared — tools and materials were meticulously prepared for each participant, with some items even shipped from Switzerland.

Henrik and Briana are ready to start the class.
A Primer on Watch Finishing Techniques
The first part of the class showcased a range of traditional finishing techniques used in fine watchmaking, including Geneva stripes, perlage, beveling, charbonage, frosting and sandblasting, sunray finishing, and snailing.
Each technique was accompanied by wonderful examples, featuring timepieces from top independent watch brands to upcoming young watchmakers. These decorative methods require immense skill and a strong sense of artistry. We reviewed quickly on most finishes in watchmaking — a few slides that I’ve captured from the class.

Class slide: Beveling and Chamfering
Henrik then led a discussion on the functional value of fine finishing beyond its visual appeal. We learned, for instance, that perlage helps conceal surface imperfections of tool marks. Anglage not only beautifies an edge but also removes sharp corners, improving both durability and longevity.
The most fascinating technique for me was charbonage, something I hadn’t encountered before. It turns out this ancient method has seen a quiet revival by modern artisans like Théo Auffret. Using charcoal to scrape the surface of a metal component, charbonage creates a dreamy texture like drifting clouds or textures of meteorites. A very unique way to decorate a movement.
An All-In-One Class Project
For this enthusiast-focused class, Henrik and Briana designed a hands-on project that combined four key finishing techniques: straight graining, countersink polishing, screw head polishing, and bluing. Each student received a raw brass workpiece, the size of a watch part, with five drilled holes as the starting point. The goal was to transform it into a finished piece showcasing polished surfaces and countersinks, and a blued screw — something we could take home as a personal memento.

The brass workpiece with five holes was the starting point for the polishing tasks.

The workbench for each student included sandpapers, beech wood, a pin vise, round burs, and a watchmaker’s bow.
Straight Graining
To begin, we worked on straight graining the flat surfaces using three grades of sandpaper: 220, 320, and 600 grit. The initial polish was done by moving the workpiece over the sandpaper in a figure-eight motion. For the final finish, we slid the workpiece in a straight line along the edge of a ruler to achieve precise graining.

Class slide: Straight Graining.
Once the top and bottom surfaces were completed, we moved on to the flanks and narrow ends. The ends were trickier — we aimed to create a curved surface with an even finish. At this stage, the loupe became our best friend, helping us inspect progress and stay on track.
Throughout the process, Briana and Henrik made their rounds, checking in with each student and offering hands-on guidance. With their encouragement and tips, we all completed our grained surfaces with pride, gaining confidence and getting ready for the next stages of finishing.
Countersink Cutting
A well-shaped, polished countersink is a hallmark of high-level watch finishing. Aside from its aesthetic appeal, a countersink also helps retain lubrication for functional purposes or it can enhance the jewels and screws to look more elegant and appealing. In this task, it was our turn to create five countersinks on our brass workpiece.

Class slide: Countersink Finishing
To shape the countersinks from the pre-drilled holes, we used a round bur mounted on a pin vise. Each student received two burs, one large and one small, allowing us to create one larger countersink in the middle and four smaller ones.
The pin vise enabled us to rotate the bur while applying gentle downward pressure. As we worked, the round bur gradually carved out a bigger spherical recess from the hole on the brass surface.
With the shaping complete, it was time for the next challenge: polishing the countersinks to a mirror-like finish.
Countersink Polishing
This step was easily the most intricate and fascinating part of the class. We all gathered around Henrik as he demonstrated the technique with precision and care. The main tool? A simple wooden peg made of beech, used to polish the inside of the countersink.

Henrik demonstrated how to spin the beech wood with a bow.
First, we had to sharpen the peg to a fine point, similar to sharpening a pencil. Using sandpaper, we carefully shaped the tip to match the curvature of the countersink. Just like real watchmakers, we made our own customized tool for the task.
To begin polishing, we used a bamboo toothpick to apply a tiny amount of polishing paste to the pointed tip. Then we set up the polishing bow, positioning it so the beech peg was centered over the countersink.
With one hand holding the peg and the other guiding the bow, we created a spinning motion by moving the bow back and forth. As the peg rotated, it polished the countersink’s inner surface.
Achieving a perfect result takes a lot of skill. While we were far from mastering it, each of us gave it our best shot and managed to bring a satisfying shine to the countersinks.

The youngest student performed countersink polishing with a beech wood.
Afterward, we moved on to cleaning. We used Rodico, a soft, clay-like material, to remove any remaining traces of oil, grease, or fingerprints.
Briana then called for a break and invited us outside to inspect our work in the sunlight. Under the bright light, the workpieces gleamed with straight graining and polished countersinks. It was a proud moment. Had we really done this ourselves? Amazing.
Screw Head Polishing
The goal in this step was to transform a flat screw head to a round screw head with a beautifully curved and polished one using sandpapers. To help us get started, Briana handed out larger screws for practice.
We began by securing the screw in a pin vise, gripping it by the threaded shank so that the head was exposed and held firmly in place. With one hand holding the pin vise, we used the other to press the screw head against the sandpaper.
The motion was key. We gently rotated the screw head along a circular path, allowing it to wear evenly against the sandpaper. Starting with the coarsest grit, we gradually moved through finer grades until the surface became smooth and reflective.
By the end, we had created a nicely domed screw head with a mirror finish — an elegant result from a seemingly simple technique. This technique, Briana explained, was created by David Walter.

Practiced polishing the screw head.

Excellent screw head polishing work from my classmates.
Screw Head Bluing
Heat bluing of screws and hands is an ancient technique that dates back centuries. Today, it remains a sign of hand-finishing and artisanal craftsmanship. The process involves controlled thermal oxidation that transforms steel into a rich, lustrous blue. Beyond its beauty, the resulting oxide layer also provides basic protection against rust.
Briana demonstrated the technique using a heater with precise temperature control. As she explained, heating steel to around 270°C produces a purple hue, while 290°C results in a deep blue. Each student had the option to choose between the two colors – I decided to go with purple.
Watching the transformation was intriguing. The screw head changed gradually to purple, and then to blue, as the temperature climbed. Timing was everything. Once the desired shade appeared, the screw had to be removed from the heat right away to cool down and lock in the color.

Briana demonstrated how the screw head bluing was done.

A close up of screw head bluing in progress.
Final Assembly
The final step was to place the blue or purple screw into the center countersink on the workpiece and fasten it. This was a delicate task — the screw was tiny, and it had to be handled with care to avoid scratching its colored surface.
No watchmaking class is complete without a flying screw or two. In our case, it was Barry’s turn. His blue screw suddenly jumped and vanished. Soon, we were pulling back chairs, checking under the table, and crawling on the floor in search of it. Thankfully, Briana came to the rescue and spotted the mischievous screw on the floor. Hallelujah!
At last, everyone placed their polished workpiece in a small plastic case, secured at the bottom and ready to take home. We all completed the class with shining results — and plenty of smiles.

A+ for this class project!

A celebration at the end of class with everyone’s workpieces.
A Successful Launch
The four hours spent in the polishing class felt like a trip to Disneyland for a kid. Kudos to Henrik and Briana for designing such a fantastic class and giving us an experience that was both fun and educational. Our appreciation for fine finishing and artisanal watchmaking has grown immensely.
Participants from the first three classes in the San Francisco Bay Area shared glowing feedback with fellow watch lovers in the chat groups. “So much fun and good company.” “An awesome job making the class fun and achievable, even for someone who isn’t a watchmaker.” “You really understand what hand finishing means after this.” “This was a great class. Highly recommend it.”
At the close of our session, Briana and Henrik expressed heartfelt thanks to the students and sponsors who made it all possible. These included Phillips Auction House, Davidson & Licht, Czapek Geneve, David Walter Timepieces, K&H Watchmaking Competence Centre, and 49 Crowns.
Briana and Henrik were visibly thrilled to see the class launch with such success. After a short break, they flew to New York City to teach two sessions the following weekend, offered through the HSNY. Looking ahead, four more classes will soon be held in London, supported by the British Horological Institute (BHI), the independent watch brand McGonigle and San Francisco-based Independent in Time.
Creating the first-ever polishing class for enthusiasts was no small feat — and they pulled it off beautifully. For more information on the upcoming London classes, please follow the BHI Instagram account. Additional classes are being planned in cities around the world. To stay informed about future offerings, contact info.BrianaLe@gmail.com.
You may also like
Editorial
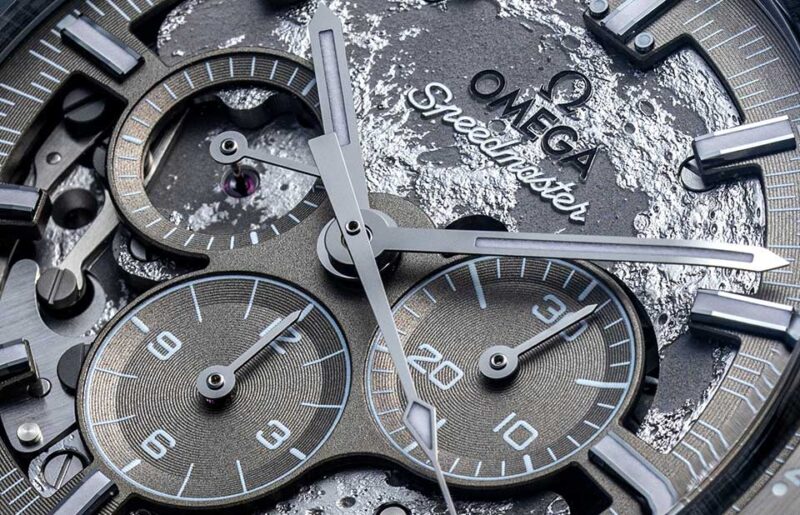
Six Decades Beyond Earth: Omega Speedmaster
Jul 24, 2026
Editorial
Six Decades Beyond Earth: Omega Speedmaster
Jul 24, 2026
Editorial
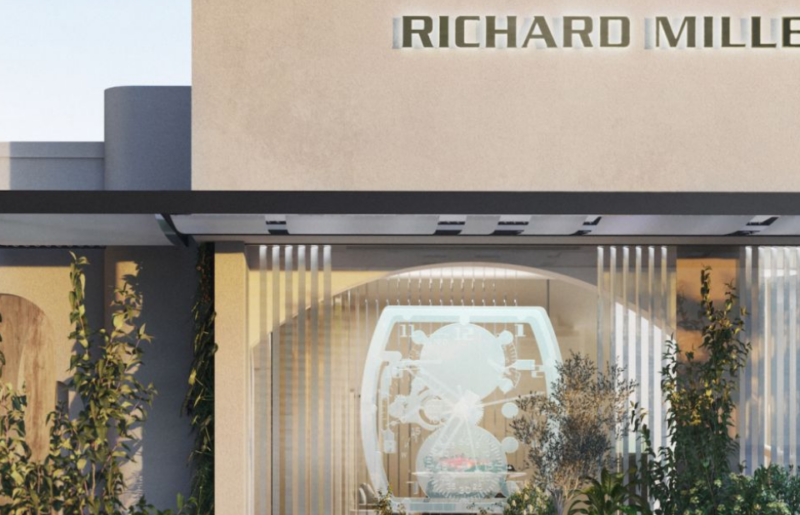
Beyond the Boutique: The Experiential World Of Watch Retail
Jul 22, 2026
Editorial
Beyond the Boutique: The Experiential World Of Watch Retail
Jul 22, 2026
Editorial
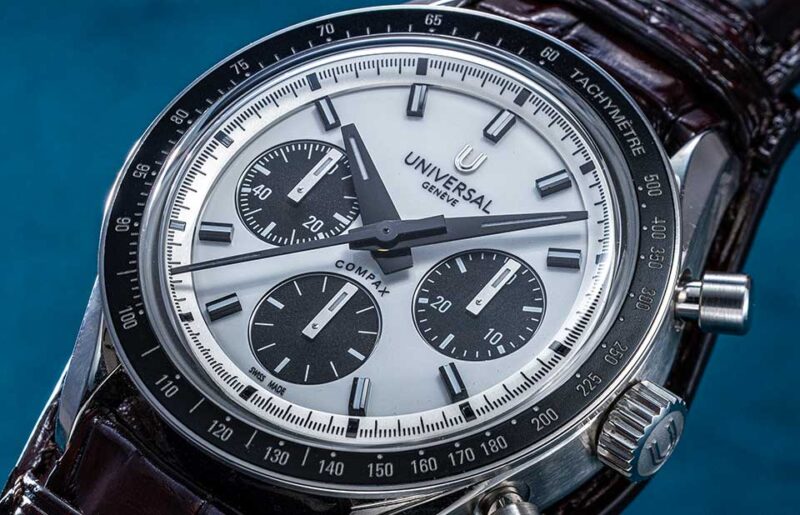
A Closer Look: Universal Genève Compax Collection
Jul 21, 2026
Editorial
A Closer Look: Universal Genève Compax Collection
Jul 21, 2026